How to Caption Zoom Calls on Mac (Free + Private Options)
Updated April 27, 2026 · 7 min read
You don't need a paid transcription service or a meeting bot to get captions on Zoom. Whether you're hard of hearing, following along in a second language, or trying to stay focused during back-to-back calls, live captions make every meeting easier to follow.
Here are three free ways to caption Zoom calls on your Mac — including a private on-device option that works even when the Zoom host has not enabled captions.
Why Caption Zoom Calls?
Before we get into the how, here's why more and more people are turning on captions for Zoom meetings:
Accessibility. For deaf and hard-of-hearing participants, captions aren't optional — they're essential. Live captions make meetings inclusive without requiring someone to manually transcribe.
Non-native speakers. If English (or whatever language is being spoken) isn't your first language, reading along while listening dramatically improves comprehension.
Focus and retention. Research consistently shows that combining audio with text helps you stay engaged and retain more information. Captions catch the words you miss when your attention drifts.
Searchable record. Some captioning tools let you save transcripts, giving you a searchable log of what was said — no more "can someone share the meeting notes?" messages.
Method 1: Zoom's Built-in Captions
Zoom has free automated captions built right into the app. The catch: the meeting host (or admin) needs to enable them first.
How to set it up
Sign in to zoom.us in your browser and go to Settings.
Scroll to "In Meeting (Advanced)" and toggle on "Automated captions".
While you're there, also enable "Full transcript" if you want participants to see the running text.
Now join or start a meeting. In the Zoom toolbar at the bottom, click "Live Transcript" (or "CC").
Click "Enable Auto-Transcription".
Captions appear as a subtitle bar at the bottom of your Zoom window.
Pros
Free and built into Zoom — no extra software needed
Accuracy is solid at 90%+ for clear English audio
Supports multiple spoken languages (check Zoom's current list)
Cons
Host must enable it. If the meeting host or Zoom admin hasn't turned on automated captions in their settings, you can't use them — even as a participant.
Only visible inside Zoom. Captions appear in the Zoom window only. If you screen share your desktop, your audience does not see your captions.
Cloud-processed. Your audio is sent to Zoom's servers for transcription. Fine for most meetings, but worth knowing if you handle sensitive conversations.
No translation. Captions are in the language being spoken. There's no option to translate them in real-time.
Method 2: NotchLive (Captions for You AND Your Audience)
If you're a presenter, host, or anyone who shares their screen on Zoom, Zoom's built-in captions have a fundamental limitation: your audience can't see them. NotchLive solves this — and adds translation, transcript export, and on-device privacy on top.
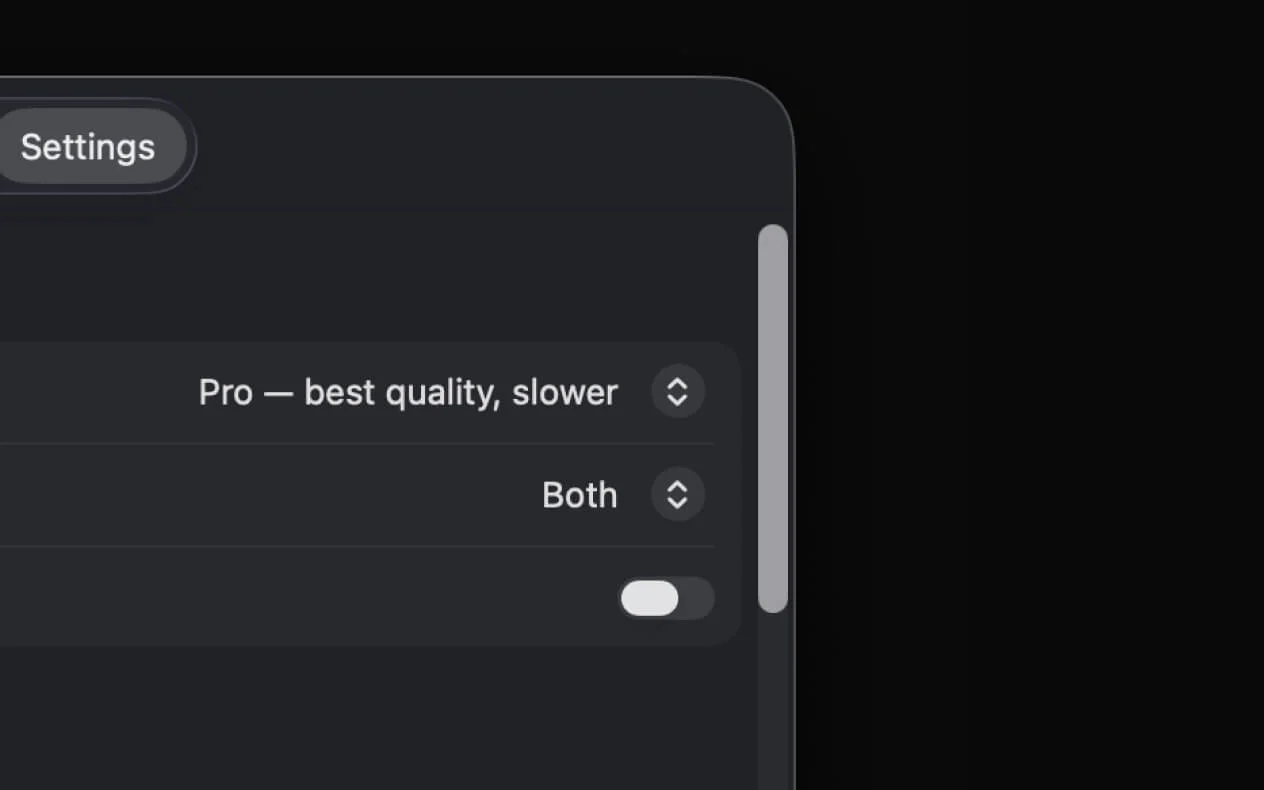
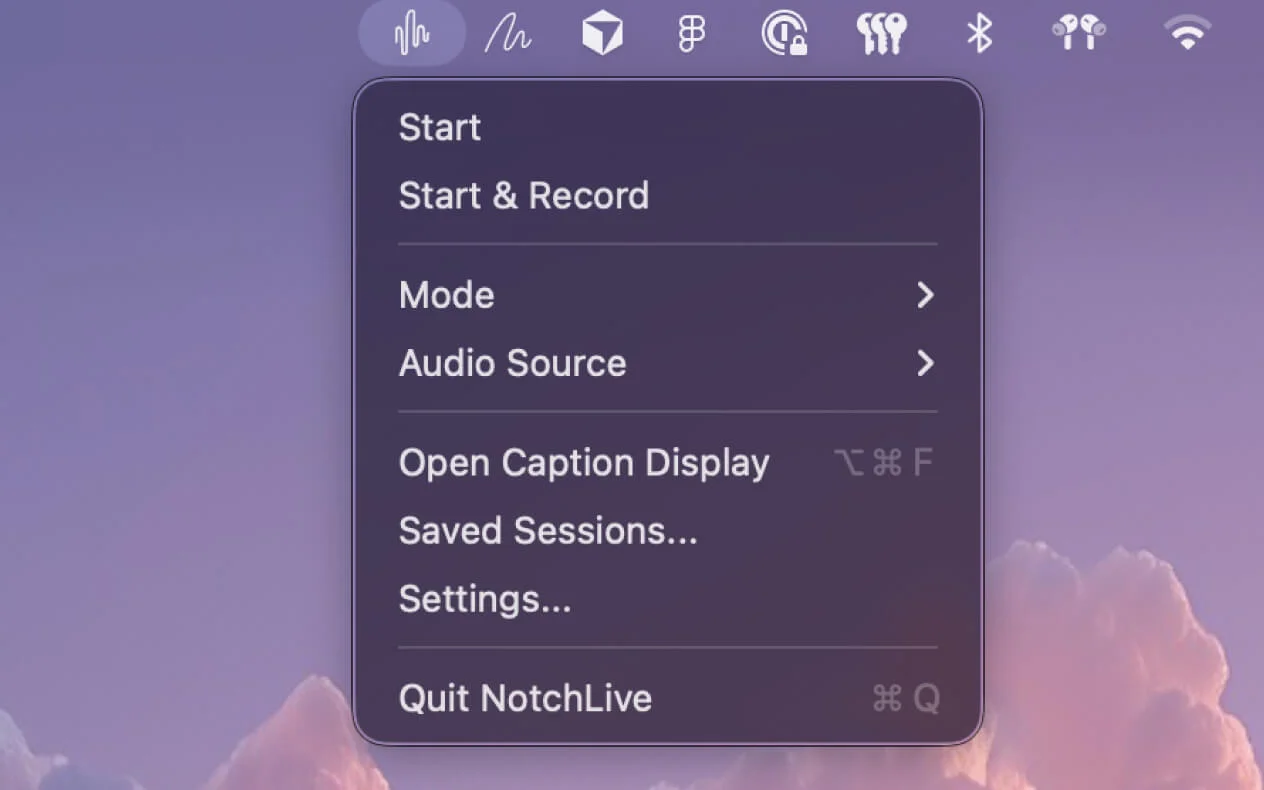
Open the app. In the menu bar, set the audio source to "Both". This captures your microphone and Zoom's incoming audio simultaneously, so both sides of the conversation get captioned.
Press ⌥⌘C (Option-Command-C) to start captioning.
Captions appear in your MacBook's notch — only you see these, and they don't take up any workspace.
For your audience: press ⌥⌘F (Option-Command-F) to open the Caption Display window. This is a separate, always-on-top window that shows captions in a large, readable format.
In Zoom, choose "Share Screen" → select your entire screen. Your audience now sees your desktop with the Caption Display — live captions included.
Why this is better for presenters and hosts
Your audience sees live captions. The Caption Display window is visible during screen sharing, so everyone in the meeting gets captions — not just you.
Dual-stream captioning. NotchLive captures your mic and system audio separately. Your words and the other speakers' words are both captioned, even when overlapping.
Record and export. Hit record to save the full session. Export transcripts as TXT, Markdown, or JSON after the meeting — instant meeting notes.
Real-time translation. Translate captions into 20 languages on the fly. Present in English while a colleague reads captions in Spanish, German, or Japanese.
Works even when Zoom captions are disabled. Since NotchLive captures audio at the system level, it doesn't depend on the host's Zoom settings. Captions work regardless.
Audio transcription runs on-device. NotchLive uses Whisper AI locally on your Mac. No audio is sent to NotchLive's cloud — unlike Zoom's cloud-processed captions.
Tip: If you only need captions for yourself, skip the Caption Display and use the notch captions. No bot joins the meeting, and your captions stay local to your Mac.
Method 3: Apple Live Captions
macOS has system-wide live captions built in. They work across every app, including Zoom — no configuration needed on Zoom's side.
How to set it up
Open System Settings → Accessibility → Live Captions.
Toggle Live Captions to On.
A floating caption window appears. Join any Zoom call and captions start automatically.
The limitations
Apple Live Captions is the simplest option, but it has significant trade-offs for Zoom users:
Blanks out during screen sharing and recording. If you share your screen or record the meeting, Apple Live Captions stops showing text entirely — with no warning. This is a well-documented limitation that Apple has not addressed.
No translation. Captions are in the spoken language only. No real-time translation.
No transcript. Once the call ends, the captions are gone. There's no way to save, export, or review what was said.
Only you see it. The floating window is local to your screen. Your Zoom audience never sees your captions.
For quick, casual use it works. For anything where you need reliability during screen sharing or a record of the conversation, it falls short.
Comparison: All Three Methods Side by Side
Feature
Zoom Built-in
NotchLive
Apple Live Captions
Audience sees captions
No
Yes (Caption Display)
No
Works during screen share
In Zoom only
Yes
No
Translation
No
20 languages
No
Transcript export
No
Yes (TXT / JSON)
No
Privacy
Cloud-processed
On-device
On-device
Price
Free
Free / Pro $14.99
Free
Requires host to enable
Yes
No
No
Best Setup Based on Your Role
Not sure which method to use? Here's a quick recommendation based on how you typically use Zoom:
You're a participant (camera on, not sharing)
Simplest option: Zoom's built-in captions — if the host has enabled them
More reliable: NotchLive — works regardless of host settings, keeps captions in the notch so they don't cover your Zoom window
You're a presenter or host who shares their screen
Best option: NotchLive with Caption Display. Your audience sees live captions on your shared screen.
Avoid Apple Live Captions — it blanks out the moment you start sharing
You're a non-native speaker
Best option: NotchLive with real-time translation. Hear English, read in your native language. Translation uses Apple's Translation framework after the required language packs are installed.
Bottom line: Zoom's built-in captions are a solid starting point, but they only work inside Zoom and only when the host allows them. If you want private captions, translation, screen-share-friendly display, or transcripts without a meeting bot, NotchLive fills the gap.
Download NotchLive free
Private live captions for every Zoom call. On-device Whisper AI. No meeting bot. Free forever — Pro $14.99 one-time.