← Back to NotchLive
How to Set Up Live Captions on Mac with NotchLive
Real-time AI captions in your MacBook Pro notch
Updated for NotchLive 1.6.3
Getting Started
Set up NotchLive in under 2 minutes.
1
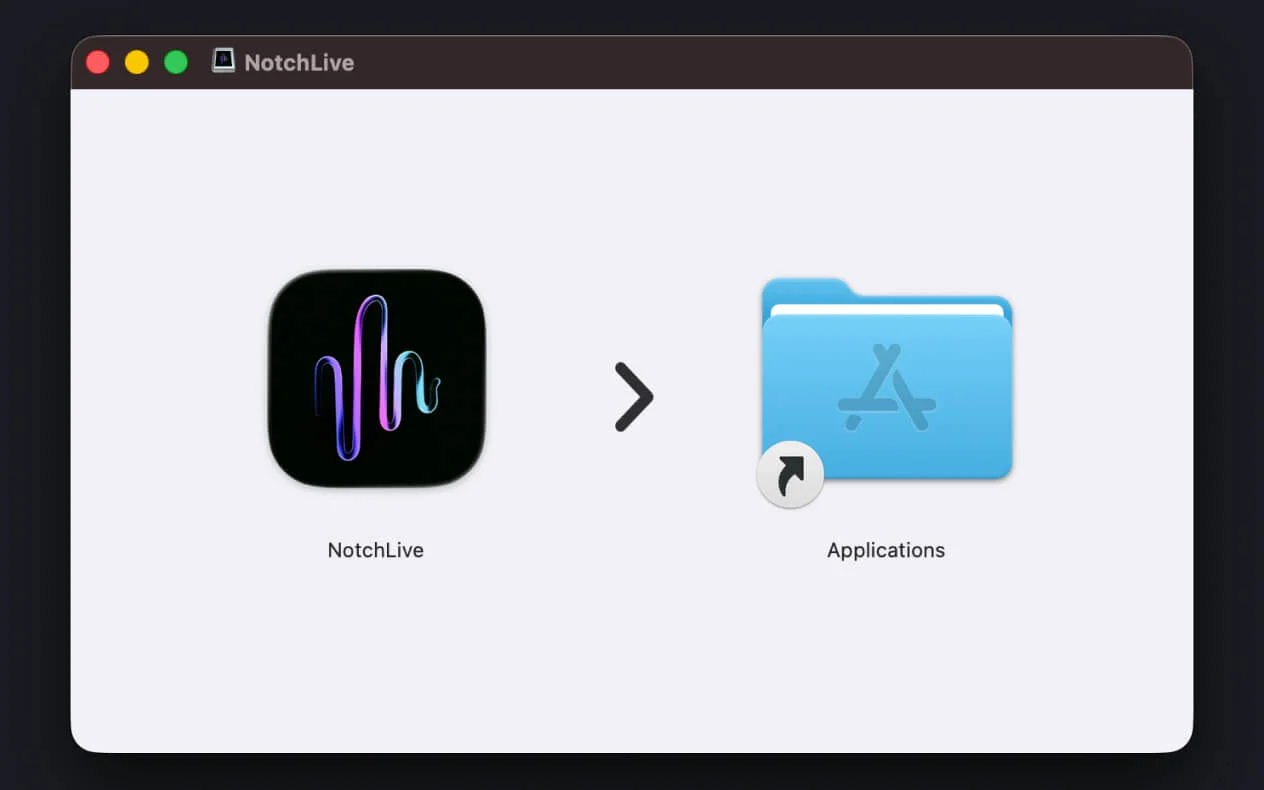
Download & Install
Open the DMG file and drag NotchLive to your Applications folder. Launch it from Applications or Spotlight.
2
Grant Screen Recording Permission
NotchLive needs Screen Recording access to capture audio from your Mac. The app will guide you to System Settings > Privacy & Security > Screen Recording. Toggle NotchLive ON.
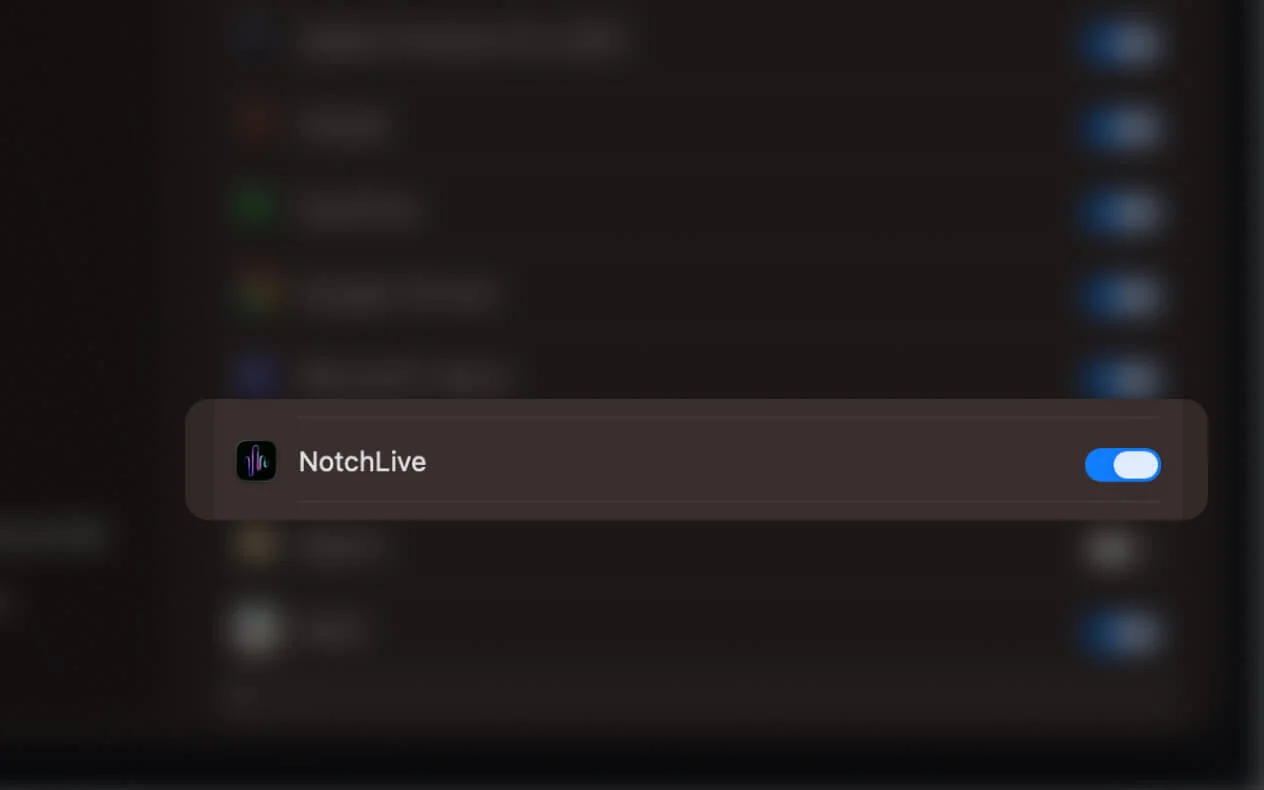
Tip: If NotchLive doesn't appear in the list, click the + button and add it manually from your Applications folder.
3
Grant Microphone Permission
To caption what you say, allow microphone access when prompted. You can skip this if you only want to caption system audio.
4
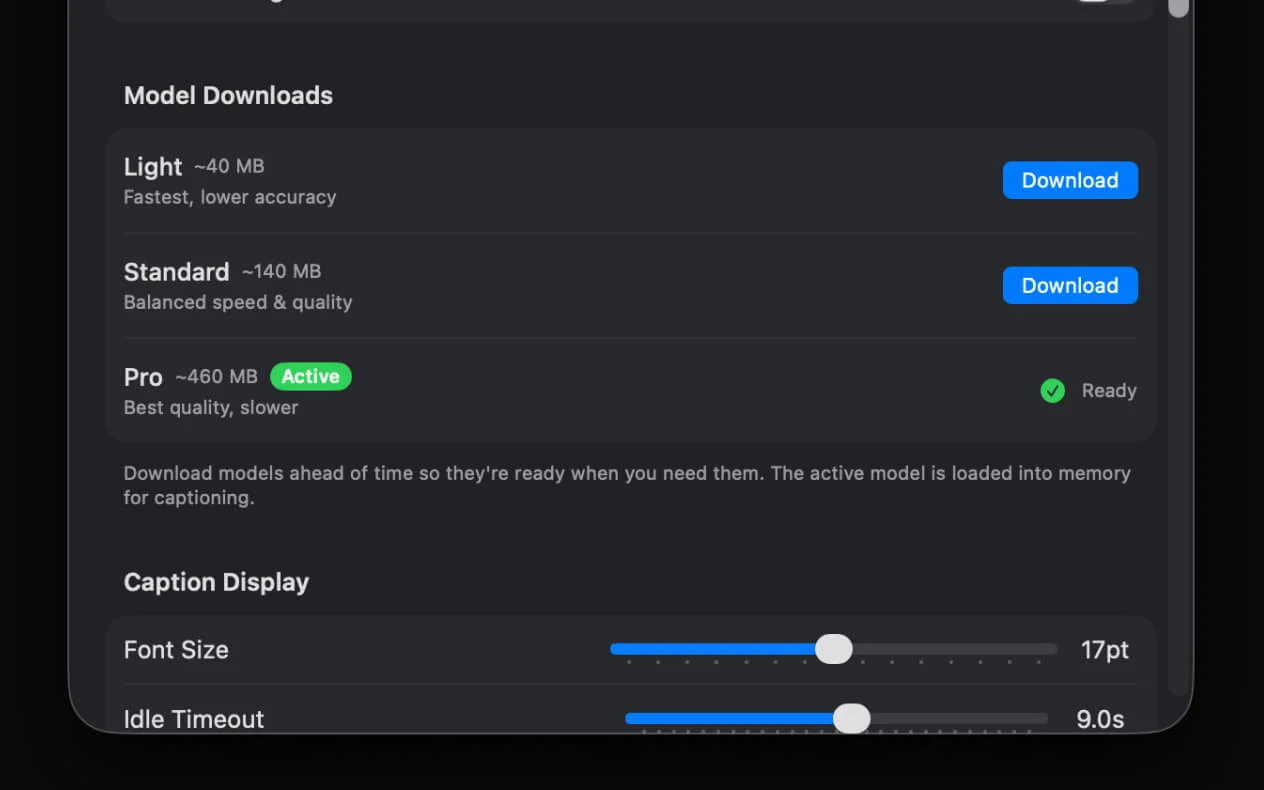
Download a Whisper Model
NotchLive runs entirely on-device using OpenAI's Whisper. Pick a model to download — everything stays on your Mac.
Base
Fast, usable accuracy.
Small
Default. Fast and accurate.
Medium
Better accuracy for accents.
Large Turbo Compact
High quality, smaller download.
Large Turbo
Highest quality option.
Your First Captions
Start captioning in seconds.
1
Start Captioning
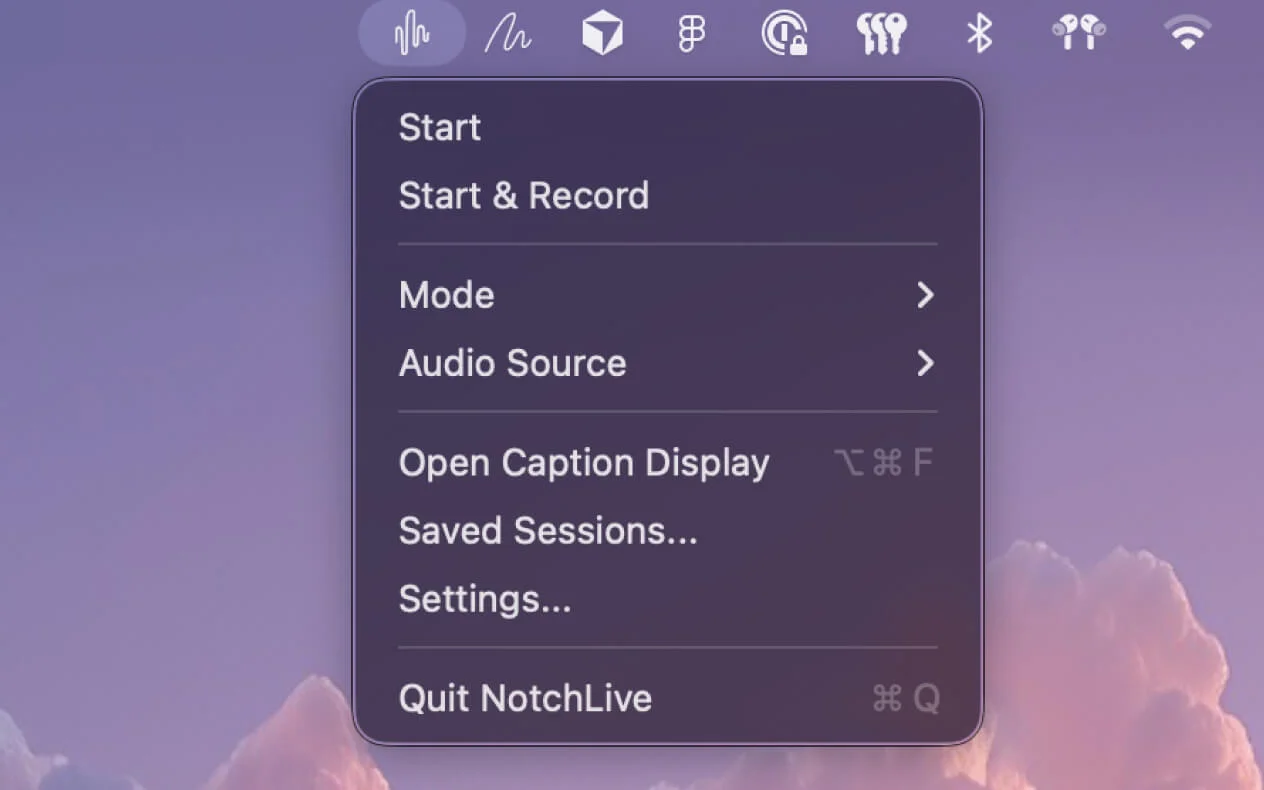
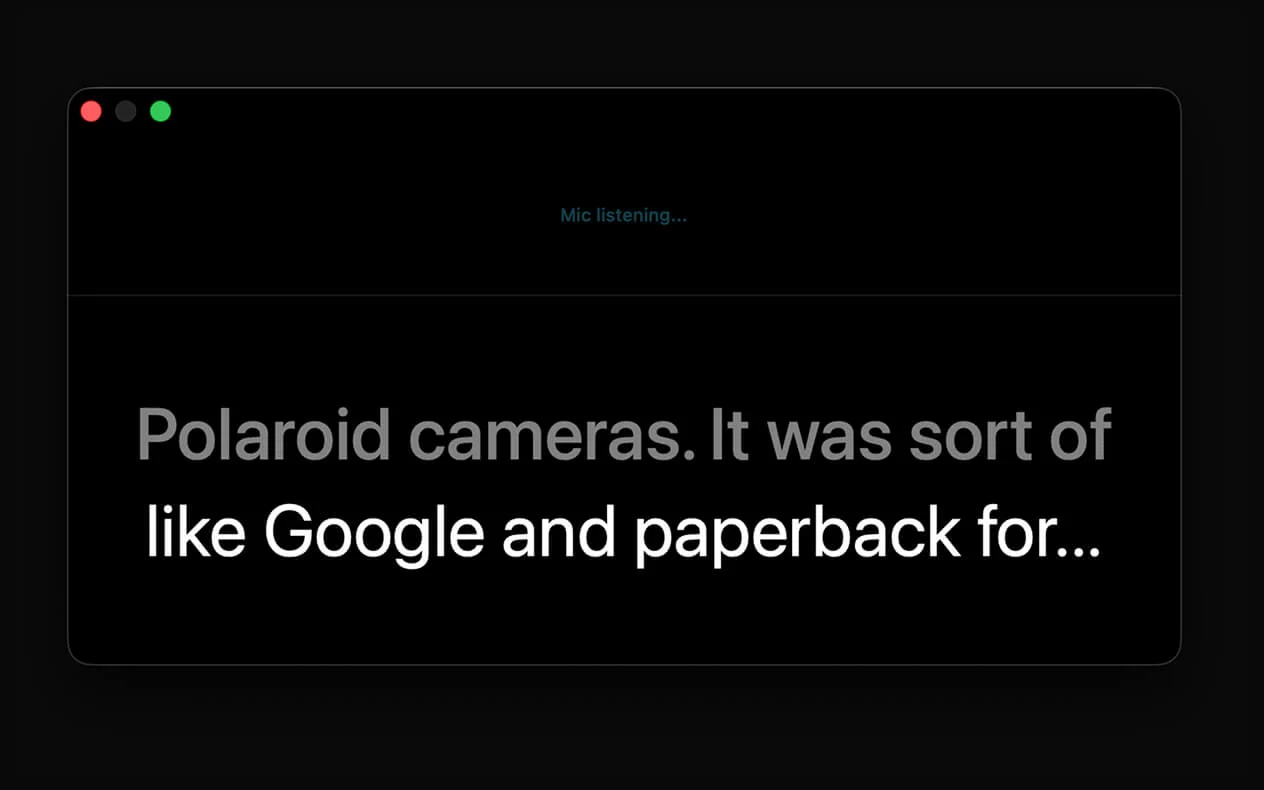
Press ⌥⌘C or click the NotchLive icon in your menu bar and select Start Captioning. The notch will expand and show "Listening..."
2
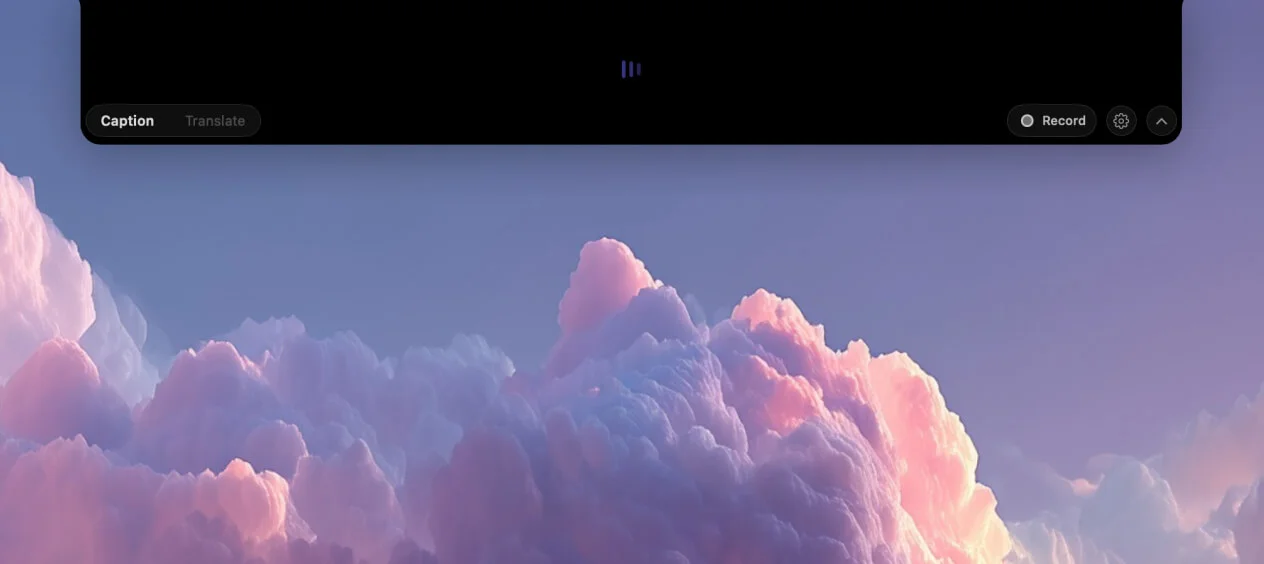
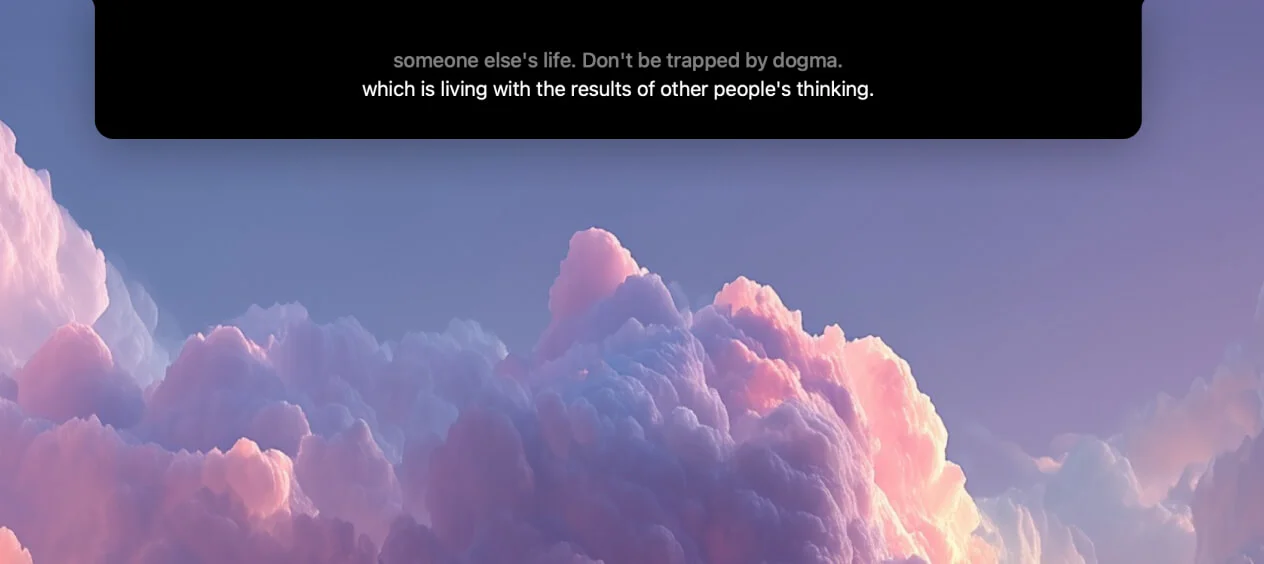
See Live Captions
Play a video, join a call, or speak into your mic. Captions appear in real-time right in the notch area. The latest line is bright white, previous lines fade out.
3
Hover for Controls
Move your mouse over the notch to reveal the control bar. From here you can switch modes, change languages, start recording, or open settings.
4
Stop Captioning
Press ⌥⌘C again or click the menu bar icon to stop. The notch collapses back to normal.
Audio Sources
Choose what NotchLive listens to.
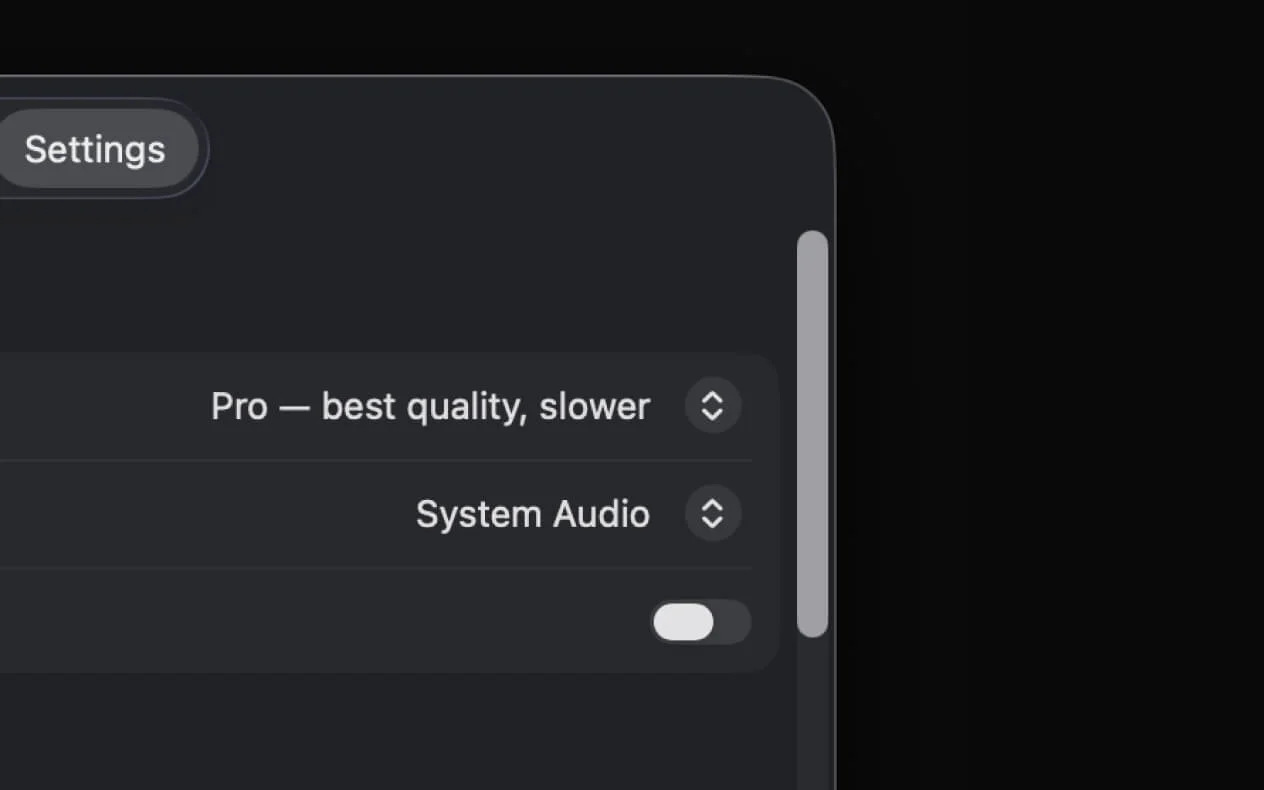
Open Settings to switch between three audio source modes:
System Audio
Captures all audio playing on your Mac — video calls (Zoom, Google Meet, Teams), YouTube, podcasts, music, and more. This is the default mode.
Microphone
Captures only your voice through the built-in or external microphone. Use this when you want to caption what you're saying.

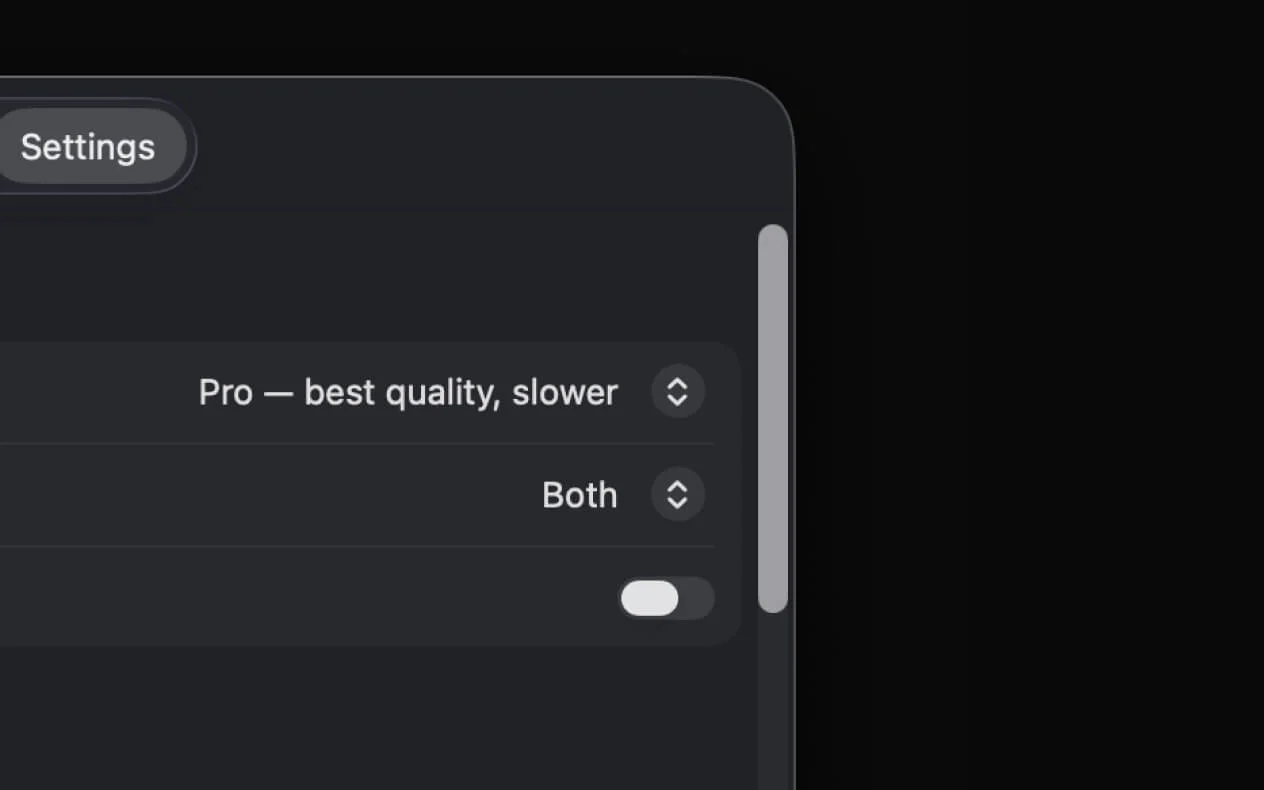
Both
Captures system audio and microphone simultaneously. In the notch widget, only system audio captions are shown. Open the Caption Display window to see both streams separately — your mic captions appear in cyan at the top, system audio in white at the bottom.
Tip: "Both" mode is ideal for webinars and meetings where you want to caption yourself and the other speakers at the same time.
Caption Display Window
Large captions for screen sharing and presentations.
1
Open Caption Display
Press ⌥⌘F or hover over the notch and click the display button. A floating window appears with large, easy-to-read captions.
2
Resize & Position
Drag the edges to resize. The window floats on top of other apps, so you can position it wherever works best for your screen layout.
3
Use for Screen Sharing
When sharing your screen in Zoom, StreamYard, Google Meet, or any other platform — the Caption Display is visible to your audience. Share your entire screen (not just a specific window) so both your content and captions are visible.
4
Both Mode: Split View
When audio source is set to "Both", the Caption Display splits into two sections:
- Top (cyan): Your microphone captions
- Bottom (white): System audio captions
Translation Pro
Real-time translation to 20 languages.
1
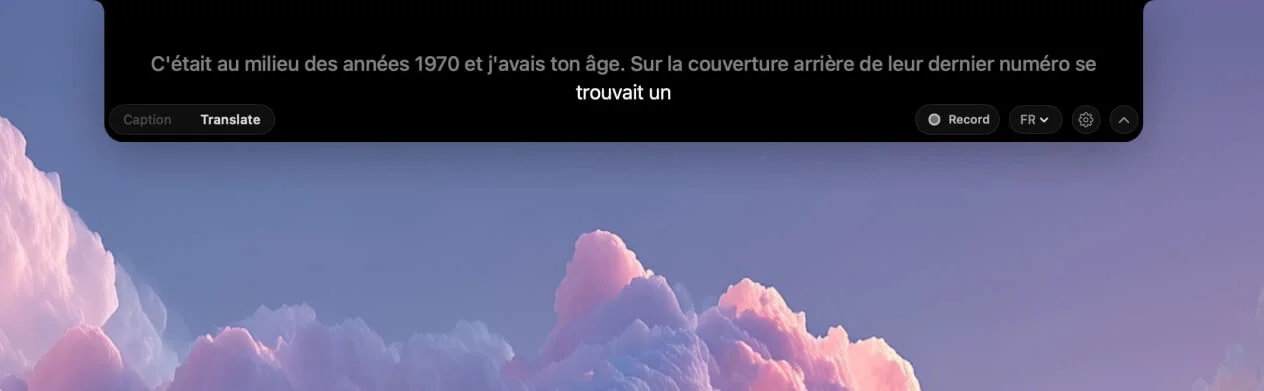
Switch to Translate Mode
Press ⌥⌘T or hover over the notch and tap Translate in the control bar.
2
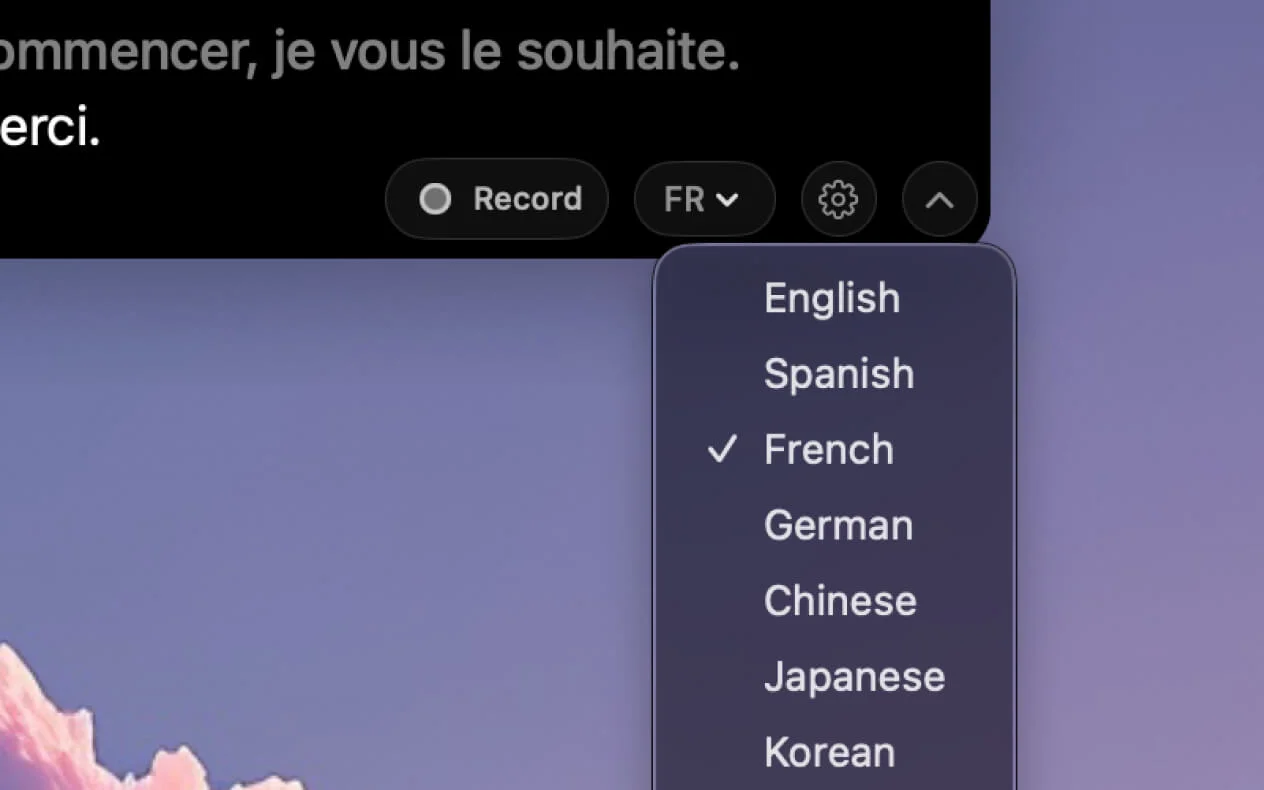
Pick Your Target Language
A 2-column language picker appears in the control bar. Choose from 20 languages including English, Spanish, French, German, Chinese (Simplified & Traditional), Japanese, Korean, Portuguese, Italian, Turkish, Arabic, Dutch, Hindi, Indonesian, Polish, Russian, Thai, Ukrainian, and Vietnamese.
3
See Translations in Real-Time
NotchLive automatically detects the source language and translates to your chosen language. Translations appear as they're spoken — both in the notch and in the Caption Display.
Tip: Translation uses Apple's on-device Translation framework (macOS 15+). The first time you translate to a new language, macOS may need to download the language pack.
Session Recording Pro
Save, search, and export your caption sessions.
1
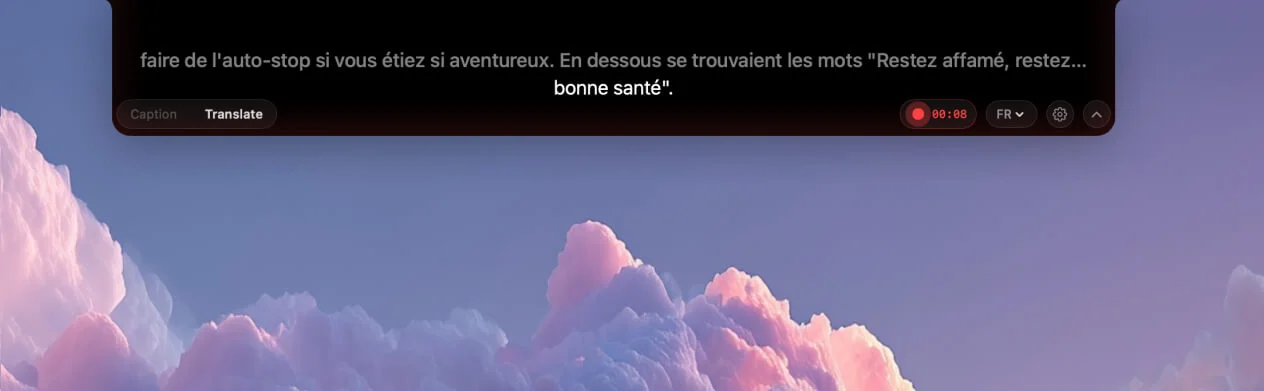
Start Recording
Hover over the notch and tap the red record button. A red glow appears around the notch and an elapsed time counter starts.
2
Stop Recording
Tap the record button again to stop. If you were in "Both" mode, NotchLive will process your buffered microphone audio for a higher-quality transcript (you'll see "Processing your audio..." briefly).
3
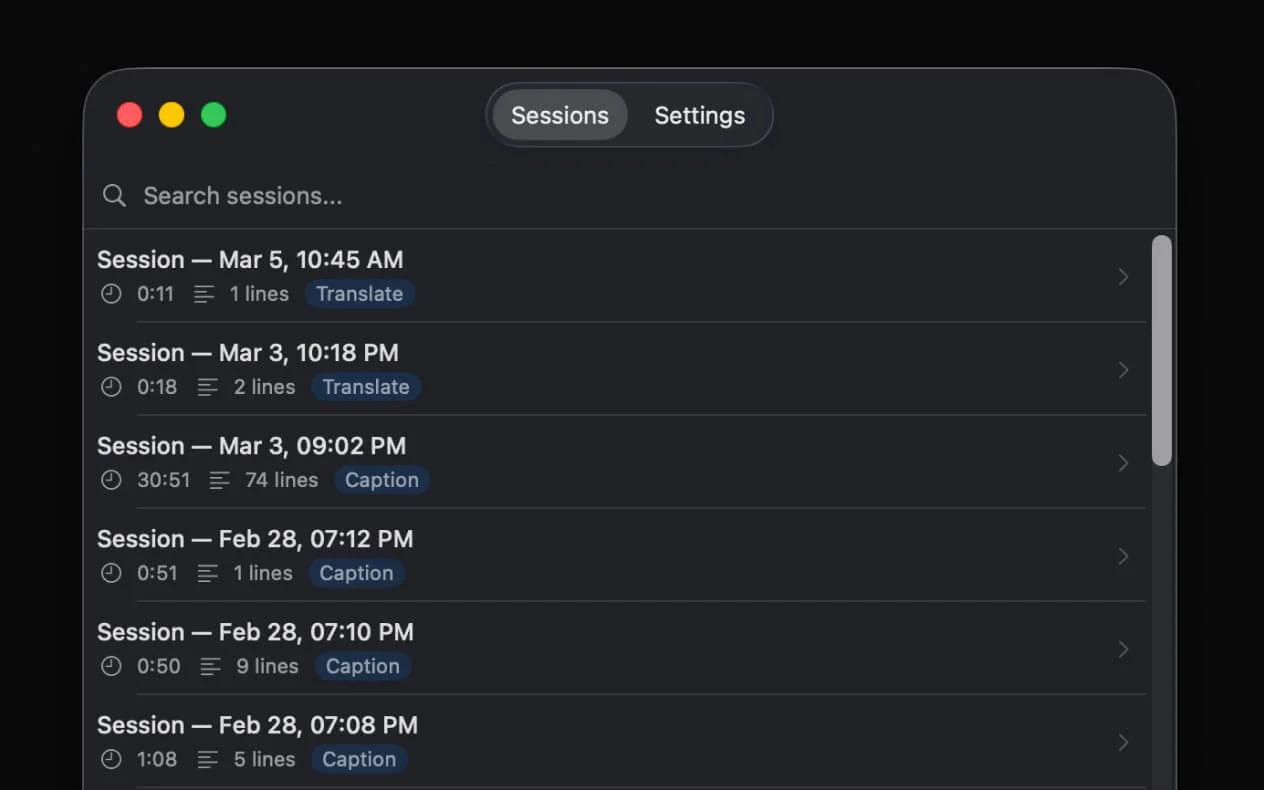
Browse Sessions
Open Settings and go to the Sessions tab. You'll see all your recorded sessions with their title, duration, date, and source.
4
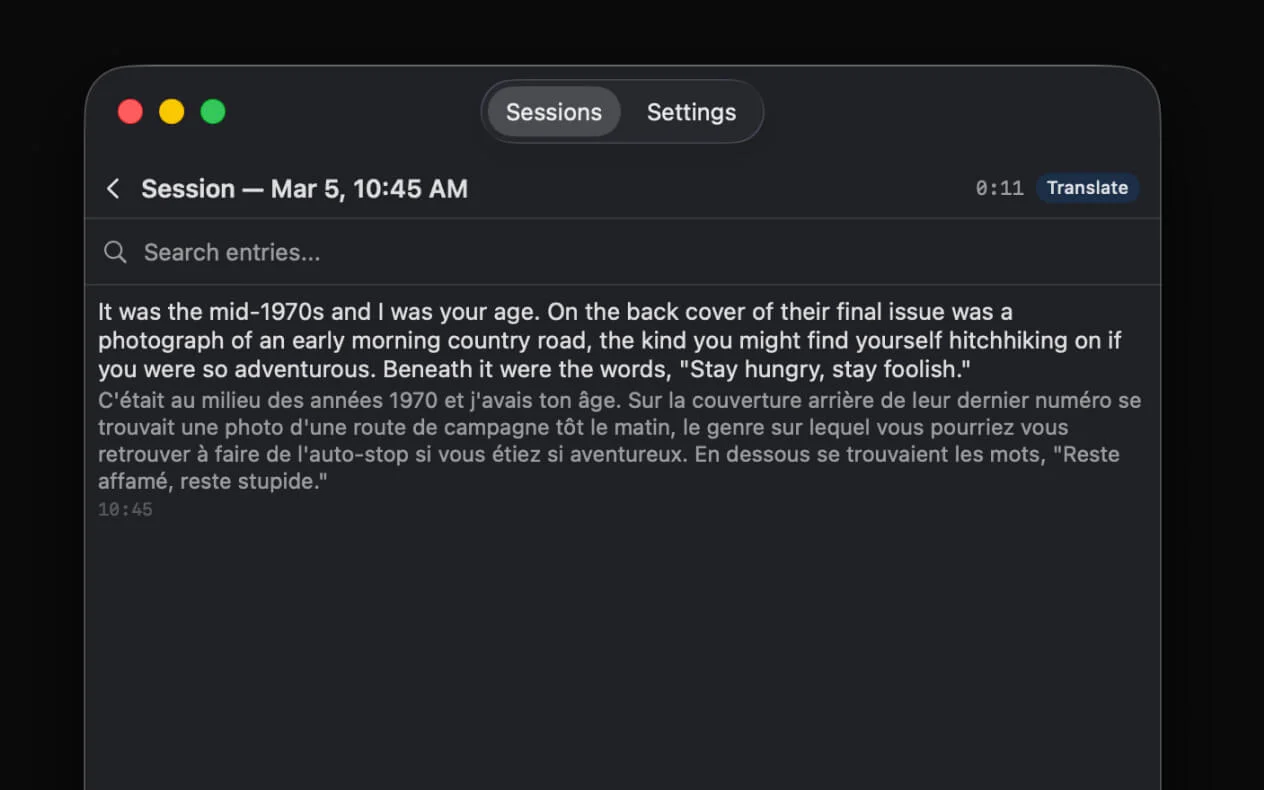
View & Export
Click a session to view the full transcript. Right-click for options: rename, export as TXT, Markdown, or JSON, or delete.
Voice Notes Pro
Dictate focused notes, clean them up, and send them onward.
1
Open Notes Mode
Click the NotchLive menu bar icon and choose Mode → Notes. The notch opens into a dark notepad built for speech-to-text notes.
2
Dictate with the Microphone
Tap the microphone button and speak naturally. Notes uses your microphone, even if your caption source is set to system audio.
Tip: If macOS has not granted microphone permission yet, open System Settings > Privacy & Security > Microphone and allow NotchLive.
3
Review Raw or AI
Use the AI and Raw toggle to switch between the cleaned-up note and the original transcript. AI is the default view for a more readable note.
4
Save, Export, or Send to NotchPad
Save the current note locally, copy/export it, or click the NotchPad button to send it into NotchPad. If NotchPad is not installed, NotchLive shows a small prompt with download options.
Keyboard Shortcuts
Control NotchLive without touching your mouse.
| Action |
Shortcut |
| Toggle Captioning |
⌥⌘C |
| Cycle Caption Mode |
⌥⌘T |
| Copy Last Caption |
⌥⌘K |
| Toggle Notch Widget |
⌥⌘H |
| Toggle Caption Display |
⌥⌘F |
Tip: All shortcuts can be customized in Settings > Keyboard Shortcuts.
Settings
Fine-tune NotchLive to your preferences.
Model Management
Download, switch between, or delete Whisper models. You can have multiple models downloaded and hot-swap between them — even while captioning is running.
Caption Display
Adjust the font size (10pt-24pt) and idle timeout (2-15 seconds) for how long captions stay visible after silence.
Launch at Login
Toggle this to have NotchLive start automatically when you log in to your Mac.
License
Enter your Pro license key to unlock Translation and Session Recording. You can also deactivate your license to transfer it to another Mac.
Tips & Troubleshooting
Get the most out of NotchLive.
Which Model Should I Pick?
Start with Small — it's the default and works well for most use cases. If you notice accuracy issues (especially with accents or technical terms), try Medium, Large Turbo Compact, or Large Turbo. You can hot-swap models while captioning is running.
Best Setup for Screen Sharing
- Set audio source to Both (to caption yourself + others)
- Open the Caption Display window (⌥⌘F)
- Position it at the bottom of your screen
- Share your entire screen in your meeting app
- Your audience sees your slides + live captions
Screen Recording Permission Stuck
After a macOS update or reinstall, the Screen Recording permission can get stuck. To fix it:
- Quit NotchLive completely
- Open System Settings > Privacy & Security > Screen Recording
- Toggle NotchLive OFF, then ON again
- Relaunch NotchLive
Note: If NotchLive still doesn't appear in Screen Recording after installing, launch the app once first — it needs to run at least once to register with macOS.
Captions Are Inaccurate
- Try a larger model (Medium, Large Turbo Compact, or Large Turbo) for better accuracy
- Make sure the audio source is clear — reduce background noise
- Whisper works best with English; accuracy may vary for other languages
High CPU Usage
Larger models use more processing power. If your Mac runs hot or fans spin up, switch to Small or Medium. In "Both" mode, the mic stream always uses the Small model to minimize resource usage.