How to copy live captions during a Zoom meeting on Mac
July 26, 2026 · 6 min read
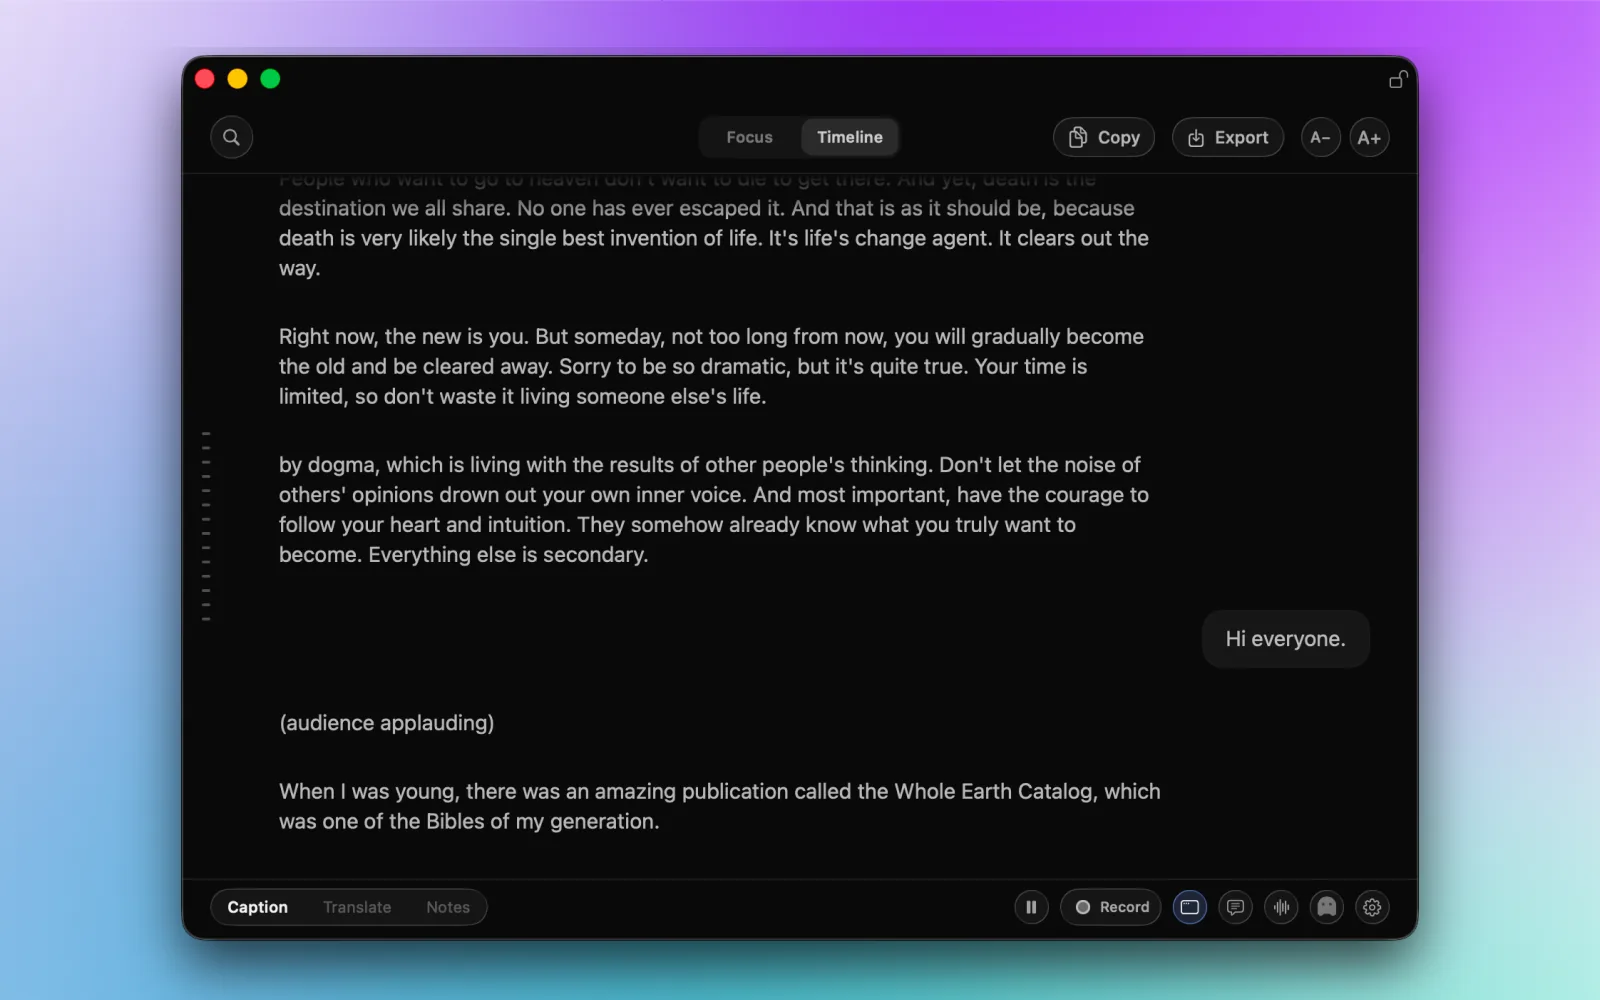
Live Timeline keeps finalized captions available to scroll, search, copy, or export while the conversation continues.
You miss one detail in a Zoom call. By the time you notice, the conversation has moved on. Asking the speaker to repeat it works, but sometimes you only need to glance back, find one phrase, and return to the live moment.
NotchLive 1.8.1 adds that workflow to its floating caption window. Focus stays with the latest caption. Live Timeline expands the same window so you can scroll, search, copy, or export what has arrived while new captions keep coming.
The useful distinction: Live Timeline is a working view of the current caption run. It does not start a second transcription pipeline, and opening it does not automatically record the meeting.
Zoom captions and a live caption timeline solve different jobs
Zoom describes captions as real-time text and transcripts as saved records. Its built-in caption history and saving options depend on the meeting, account, and platform settings available to you. Those tools are useful when the meeting host has configured them, but they are not the same as a private Mac-side timeline you can search during the call.
NotchLive captions the audio already playing on your Mac. It does not join Zoom as a participant or add a meeting bot. That makes it useful when you want a personal caption view without changing the meeting for everyone else.
1. Start captions for Zoom on your Mac
Open Zoom and join the meeting as usual.
Open NotchLive and choose system audio when you want to caption the call.
Add microphone capture when you also want your own speech represented.
Keep Focus open for the latest line, or leave the compact caption in the notch until you need more context.
macOS may ask for Screen Recording permission so NotchLive can capture system audio. The permission name comes from macOS; NotchLive can capture audio without recording your screen video.
2. Open Timeline when you miss something
Expand the floating caption window and switch to Timeline. The finalized captions from the current run appear in chronological order. You can scroll upward without stopping capture, and new captions continue to arrive below.
If you move away from the live edge, NotchLive counts unseen captions. Use Jump to Live to return to the newest line instead of dragging the scroll position back down.
3. Search the live conversation
Press Command-F in Timeline and search for a name, number, task, or phrase. Search runs over finalized captions already captured in the current live run. It does not search audio from before NotchLive started listening.
4. Copy or export what has arrived so far
Use Copy to place the current live transcript on the clipboard, or export it as TXT or Markdown. You do not have to stop captions first.
When system audio and microphone capture are both active, exports can label lines as Audio and You. These labels identify the capture source. They do not identify individual people speaking in the Zoom call.
5. Pin captions above Zoom, then return to live
Use the pin control when you want the floating caption window to stay above Zoom, Meet, or another working app. The pin is designed for normal app windows; it should not be treated as a guarantee that captions sit above every macOS system surface.
After finding the missed detail, choose Jump to Live and switch back to Focus if you only need the newest caption again.
What happens if you do not record?
Live Timeline works without recording. In that case, finalized captions are kept in memory for the current live run and are not retained after the run or across app launches. Use session recording when you intentionally want a saved transcript through NotchLive’s existing session history.
That boundary matters: a live caption timeline is useful for recovering context now, while a saved meeting transcript is a separate retention decision.
Quick answers
Can I copy Zoom captions while the meeting is running?
Yes. Timeline can copy everything captured so far while new captions continue arriving.
Does Timeline record the meeting automatically?
No. Opening Timeline does not start recording or create a persistent transcript.
Does it identify each Zoom participant?
On Apple silicon, NotchLive can separate remote voices into anonymous, meeting-local speaker labels while microphone captions remain assigned to You. Recorded Pro sessions let you review and correct those labels.
Does NotchLive need the Zoom host to enable captions?
No. NotchLive captions audio on your Mac rather than using Zoom’s caption controls. You still need the appropriate macOS audio-capture permission and must follow the consent and recording rules that apply to your meeting.
 NotchLive