 NotchLive
How to use Focus mode for live captions
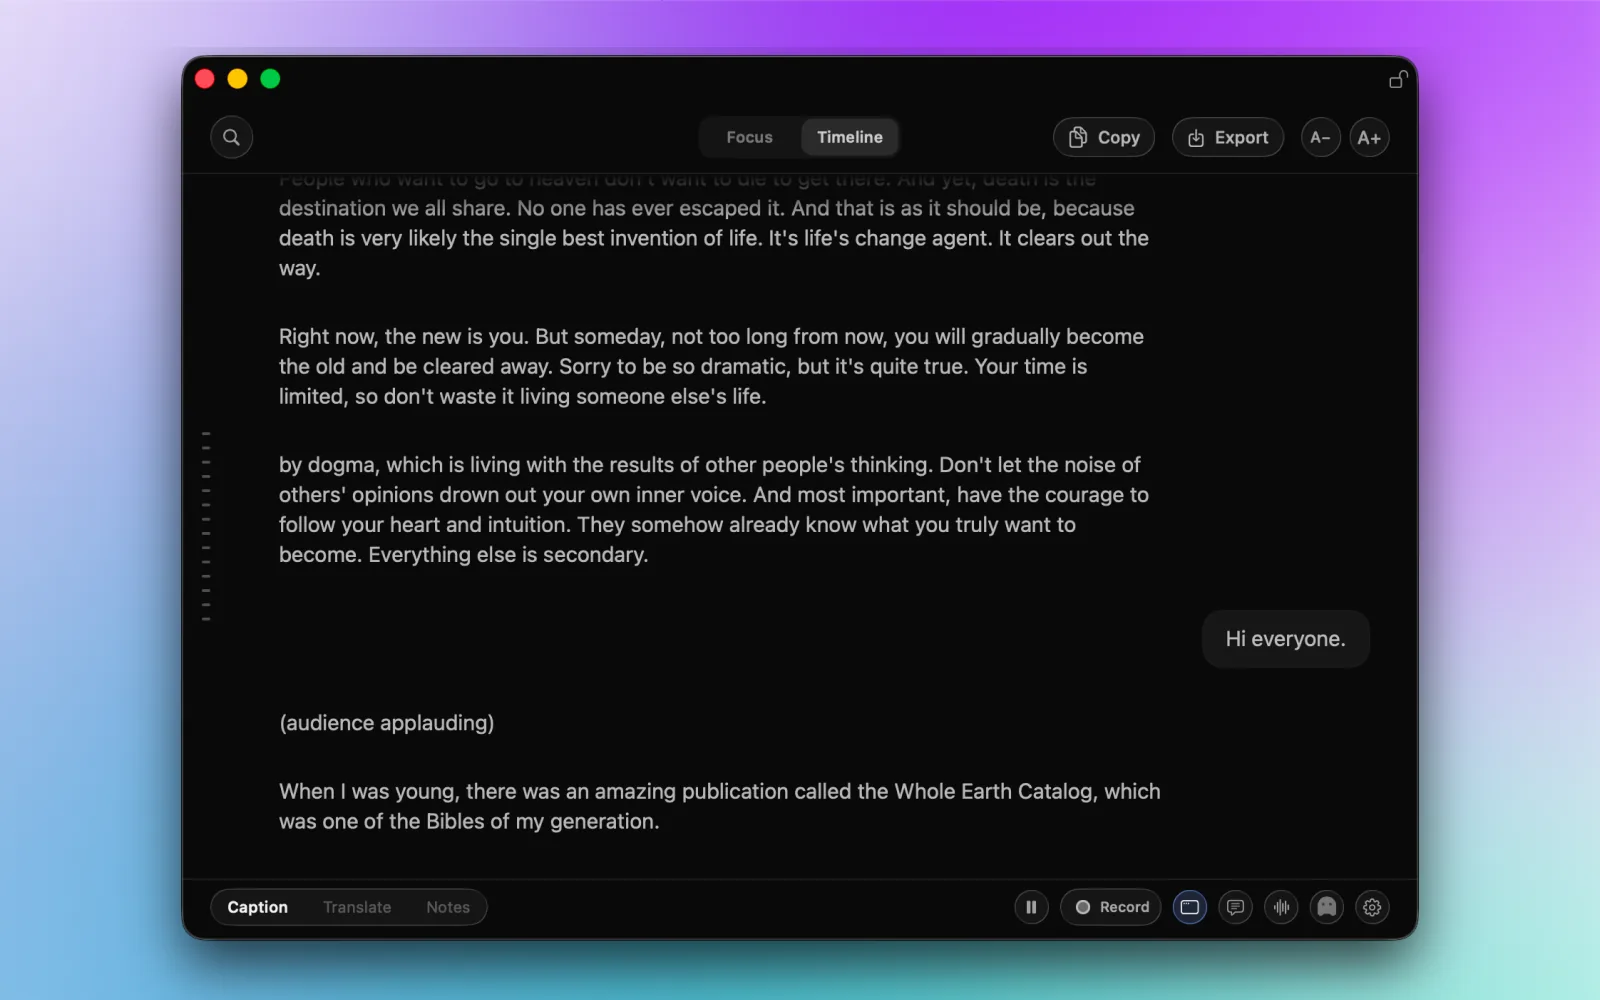
Sometimes you do not need the whole transcript in front of you. You just need the sentence being said now. Focus is NotchLive’s compact reading view for that moment.
Select Focus using the switch above the captions. The image shows where to find it, with Timeline currently selected.
1. Open the floating window and select Focus
- Start captions with Option-Command-C, or use the NotchLive menu bar controls.
- Open Caption Display with Option-Command-F or the menu bar action.
- Choose Focus in the switch at the top of the window.
The shortcuts above are defaults and can be changed in Settings. A new installation may open in Timeline first; selecting Focus changes the reading view without restarting capture.
Focus here is a NotchLive caption view. It is not macOS Focus or Do Not Disturb, and it does not silence notifications from other apps.
2. Set up a comfortable reading position
Move the window near the part of the screen you are already watching. For a call, that might be just below the other person’s video. For a lecture, it might be beside the slide rather than on top of it.
Use A− and A+ in the header to change the floating caption size. Resize the window when the text needs more room. If other windows keep covering it, use Keep Window on Top from the lock-shaped control.
Focus emphasizes the latest caption rather than presenting a scrolling history. Depending on the audio source and caption state, you may also see earlier text dimmed or separate app-audio and microphone areas. It is a live reading surface, not a promise that every sentence will fit on one line.
3. Keep the audio source separate from the view
Changing to Focus does not choose what NotchLive listens to. Your audio source still determines that:
- Apps & Media captions audio playing from your Mac.
- My Voice captions your microphone.
- Everything captures both.
If the wrong conversation appears, check the audio source rather than switching between Focus and Timeline. If no captions appear, check that capture is active, the speech model is ready, and the selected source has the necessary permission.
4. Use Timeline when you need to look back
Missed a name or a deadline? Select Timeline in the same window. It shows the captured context from the current run, including captions received while you were in Focus.
For a faster route to a particular phrase, click the window and press Command-F. NotchLive switches to Timeline and opens search. Find the detail, then select Focus again when you want the compact view back.
Switching views does not create a new recording. The Timeline guide explains search, Jump to Live, and copying or exporting with Pro.
5. Finish deliberately
Closing Caption Display hides the window but leaves an active caption stream running. Use the start/stop control or Option-Command-C when you want to stop listening.
Focus does not automatically save a meeting, and an unrecorded Timeline is temporary. If you want a meeting record for later, start a Pro recording intentionally; do not rely on the visible caption window as an archive.
Is Focus a Pro feature?
No. Focus is included with free live captions, along with the floating window and Timeline browsing/search. Pro adds capabilities such as live translation, full-Timeline copy/export, and session recording. Choosing a smaller reading view does not require a paid license.
Stay with the current conversation
Use Focus for the latest speech and Timeline for the detail you want to read again.
Download NotchLive Free