 NotchLive
How to use Live Timeline in NotchLive
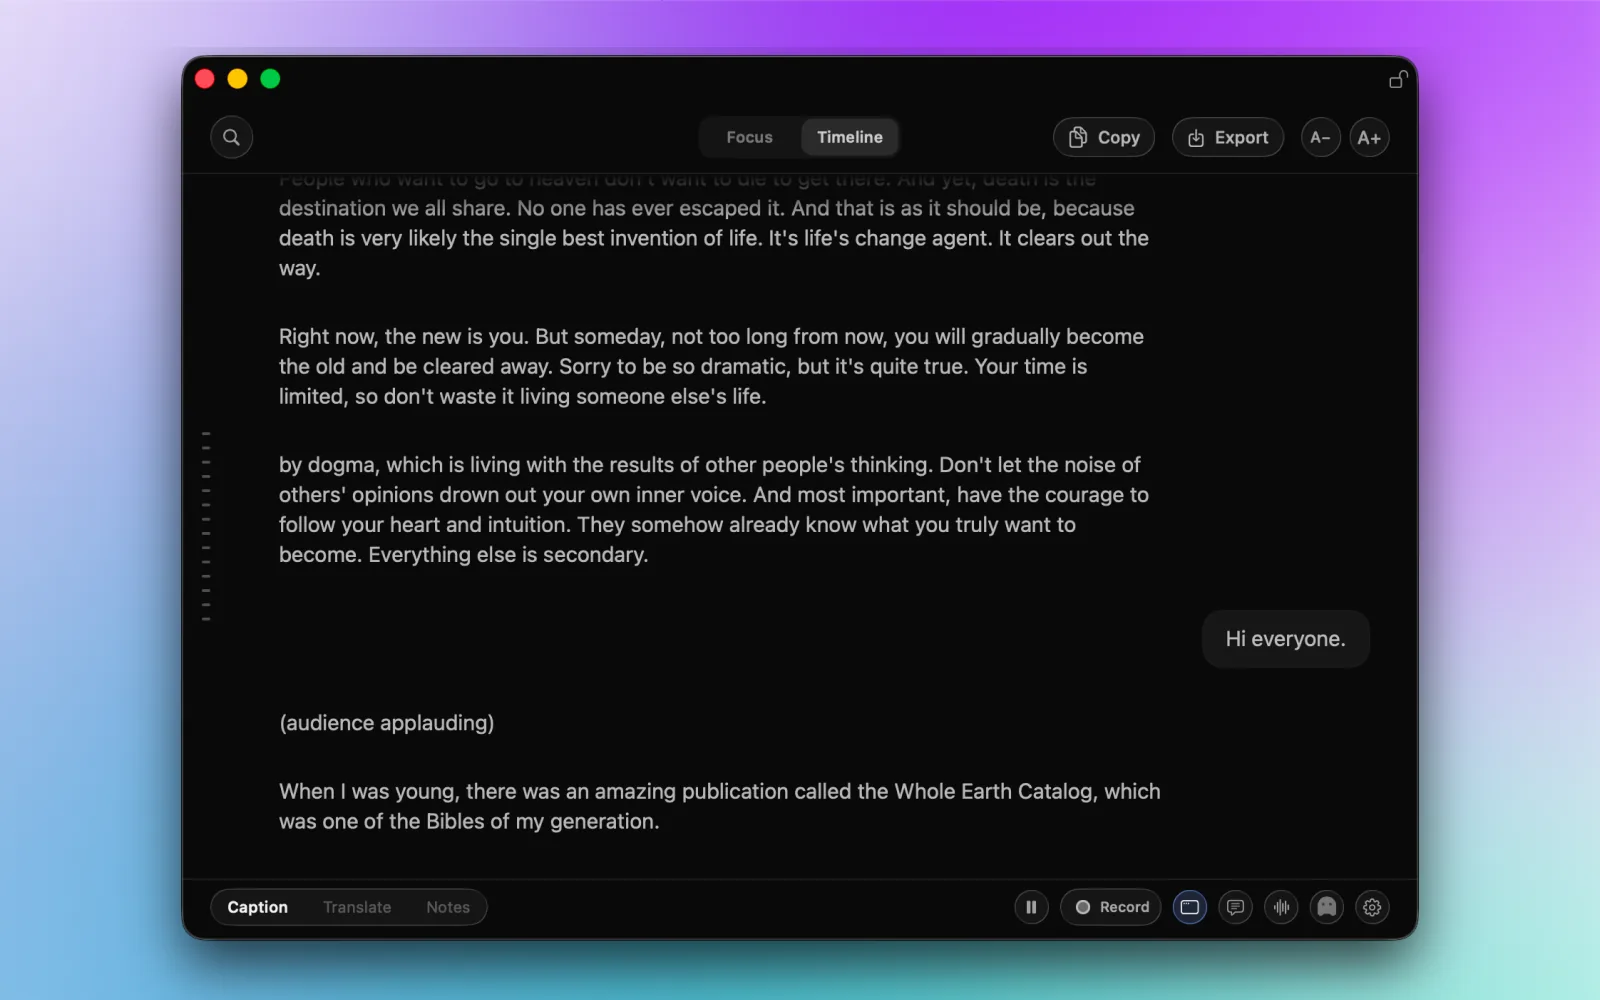
A name, a deadline, a sentence you almost caught. Live Timeline lets you go back to that moment while the conversation keeps moving. It is the scrollable view of your current captions, inside NotchLive’s floating window.
Use it for a call, lecture, video, podcast, or microphone conversation. It follows the audio sources you have already selected in NotchLive; there is no separate Timeline recording to start.
1. Start captions, then open Timeline
- Start your audio source. Choose Apps & Media for Mac playback, My Voice for your microphone, or Everything for both.
- Start captions with Option-Command-C, or use the NotchLive menu bar controls.
- Choose Open Caption Display from the menu bar, or press Option-Command-F.
- Select Timeline at the top of the floating window.
These are the default shortcuts; you can change them in Settings. If you are setting up NotchLive for the first time, follow the setup guide for permissions and the speech model.
Timeline and Focus use the same active caption stream. Switching between them does not start another transcription process or replay audio from before captions began.
2. Scroll back without stopping the conversation
Scroll upward to read finalized captions from earlier in the current run. NotchLive continues receiving new captions while you read. When you are away from the live edge, the window shows that new captions have arrived.
Choose Jump to Live when you are ready to return to the newest text. You do not need to stop and restart captions to catch up.
3. Find a phrase with Command-F
Click the caption window and press Command-F, or use the search control. Type a word, name, or phrase. Search looks through finalized captions in the current run and moves to matching text.
If you press Command-F while using Focus, NotchLive switches to Timeline and opens search. That makes it a quick way to recover a detail without keeping the full history on screen all the time.
Search can only find what NotchLive captured and recognized. If a name was transcribed differently, try another word from the sentence. This is not a search of previous saved meetings or audio that played before you started captions.
4. Copy or export the current transcript with Pro
Reading, scrolling, and searching Timeline are available for free. Copying the full Timeline and exporting it require Pro.
- Copy puts the captured transcript on your clipboard.
- Export saves the current transcript as TXT or Markdown.
Both work while captions continue. The output is a snapshot of what has been captured so far, not a file that keeps updating afterward. Check important names, numbers, and wording before sharing it.
If you use Copy or Export without Pro, the upgrade prompt does not erase the visible Timeline. You can dismiss it and keep reading.
5. Decide what you want to keep
Opening Timeline does not start a recording or save a meeting automatically. An unrecorded Timeline is held in memory for the current live run. It is not a durable archive and is not restored after quitting the app.
If you need a retained meeting record, intentionally use Record with Pro. Recorded sessions follow NotchLive’s saved-session workflow. Exporting a live transcript gives you a text file; it does not retroactively create a recording of the earlier audio.
For a deeper review later, see recorded meetings and Meeting Intelligence. For reading right now, keep using Timeline or switch back to Focus.
Make the window comfortable
Use the text-size controls, resize the window, and choose Keep Window on Top if you want captions above your working app. The floating-window guide covers those controls and the difference between closing the window and stopping capture.
Keep the context within reach
Live captions, Timeline browsing, and search are free. Add Pro when you need full-Timeline copy, export, and saved recordings.
Download NotchLive Free