 NotchLive
How to use the floating caption window
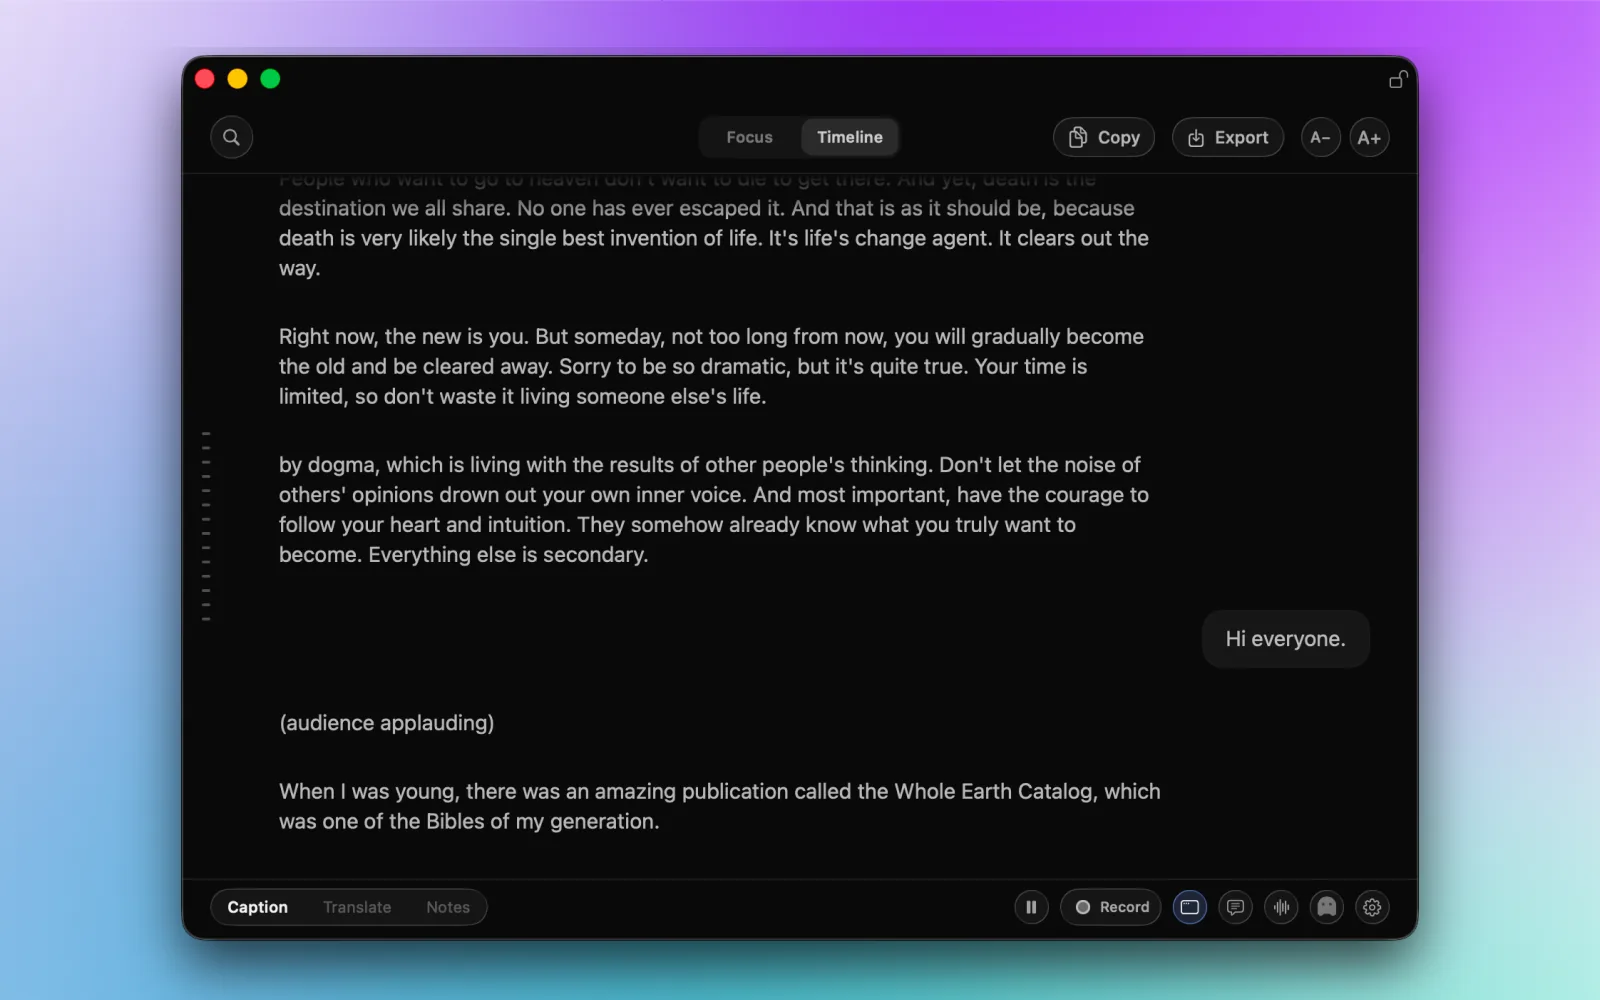
The notch is useful for a quick glance. The floating caption window is for the times you want larger text, a different position on screen, or room to read back through the conversation.
NotchLive calls this window Caption Display. It contains both Focus and Timeline, and uses the same captions as the notch. Opening it does not start a separate recording or change which audio you capture.
Open Caption Display
- Start captions from the NotchLive menu bar controls or with Option-Command-C.
- Choose Open Caption Display from the menu bar. The default shortcut is Option-Command-F.
- You can also use the display control in the notch’s control bar.
If the shortcut does something different on your Mac, check Settings → Caption Display in the keyboard-shortcut controls. Shortcuts are configurable, so your saved combination may differ from the default.
You can open the window before starting captions too. An open window is not proof that NotchLive is listening: check the capture state and start captions when you are ready.
Move and resize it around your work
Drag the window by its title bar to place it beside a call, under a video, or on another display. Drag an edge or corner to resize it. The app enforces a minimum size so its controls remain usable.
Start with a position that does not cover faces, slides, or the text you are editing. A wider window gives long captions more horizontal room; a taller Timeline gives you more context without scrolling as often.
You do not need a physical MacBook notch to use the floating window. It is a regular Mac window, separate from the compact notch presentation.
Change caption text size
Use the A− and A+ controls in the window header to decrease or increase caption size. This changes the floating captions, not the system-wide text size on your Mac.
Window size and text size solve different problems. Resize the window when you need more room; increase the text size when the words are too small to read comfortably. You can use both together.
Keep captions above another app
Click the lock-shaped control at the top right. Its label is Keep Window on Top when the window is unpinned, and Unpin Window when it is pinned.
Pinning changes the window’s stacking level so it stays above ordinary working app windows. It does not lock the window’s position, and it is not a guarantee that captions will appear above every macOS system surface or full-screen context.
If captions obscure something you need, move the window or unpin it. You do not have to stop capture to rearrange your workspace.
Choose Focus or Timeline
- Focus emphasizes the latest caption in a compact reading view. Choose it when you want to follow what is being said now.
- Timeline gives you scrollable caption context and search. Choose it when you want to recover something said earlier in the current run.
Use the switch at the top of the window. These are reading views, not different audio sources. For the walkthroughs, see Focus mode and Live Timeline.
Closing the window is not stopping captions
Close Caption Display and the window’s close button hide that window. They do not stop the active caption stream. Likewise, hiding the notch widget is a presentation action, not a command to stop listening.
When you want to stop capture, use the caption start/stop control or Option-Command-C. If you want the window back, use Option-Command-F or Open Caption Display again.
If you share your screen, see the Ghost Mode guide for the separate sharing control. Pinning a window does not make it private to a screen share.
What is included for free?
The floating caption window, Focus, and Timeline browsing/search are part of the free caption workflow. Copying the full Timeline, exporting it, recording sessions, and live translation require Pro. See the plan details when you need those capabilities.
Put captions where you can read them
Start with the free floating window, then choose the size and position that suit your work.
Download NotchLive Free